WordPress powers a significant portion of the web, hosting everything from blogs to e-commerce platforms. Ensuring the security of these websites is paramount, and one crucial tool in a webmaster’s arsenal is the Content Security Policy (CSP). This article provides a comprehensive overview of what CSP is, why it’s essential for WordPress users, and how to implement it effectively.
Content Security Policy Meaning
Definition of CSP
Content Security Policy is a security standard introduced to prevent Cross-Site Scripting (CSS) attacks and data injection attacks. It works by allowing webmasters to control resources the browser is allowed to load for a given page.
Source: developer.mozilla.org
How CSP Works in General
CSP operates through a set of directives sent via HTTP headers or meta tags. These directives tell the browser which resources are legitimate, enhancing the security by preventing the loading of unauthorized or harmful resources.
The Role of CSP in WordPress
Enhancing Security in WordPress
In WordPress, implementing CSP can significantly reduce the risk of security breaches by restricting the types of content that can interact with the website.
Examples of Common Threats Mitigated by CSP
CSP helps mitigate risks such as XSS, clickjacking, and other code injection attacks that can compromise both the site and its visitors.
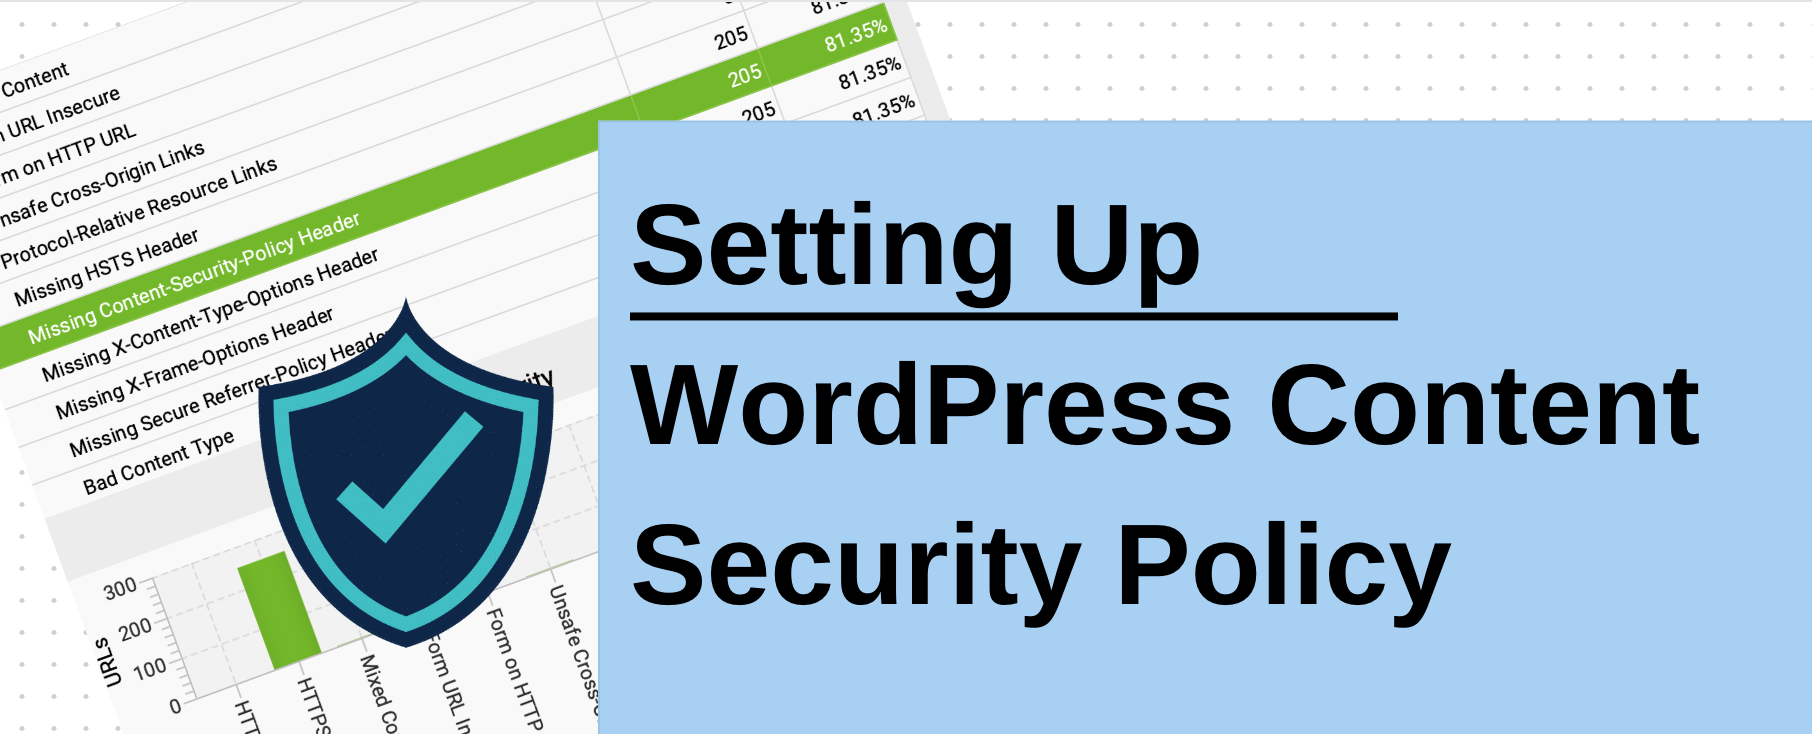
Setting Up CSP in WordPress
Things to Know Before Setting Up
Before implementing CSP, it is essential to inventory all sources of content your WordPress site uses, including scripts, stylesheets, images, and more.
Step-by-Step Guide to Implementing CSP
This guide will walk you through the process of setting up CSP in your WordPress environment, from modifying your .htaccess files to adding appropriate meta tags.
Step 1: Assess Your Current Content Sources
Before implementing CSP, you need to understand what external resources your site relies on. This includes scripts, fonts, frames, images, and stylesheets from external sources.
You can use tools like Google Chrome’s Developer Tools to inspect the network activity and identify which external resources are loaded by your site. Also you can use Screaming Frog to detect all security issues and website pages neccassary to add security header, such as:
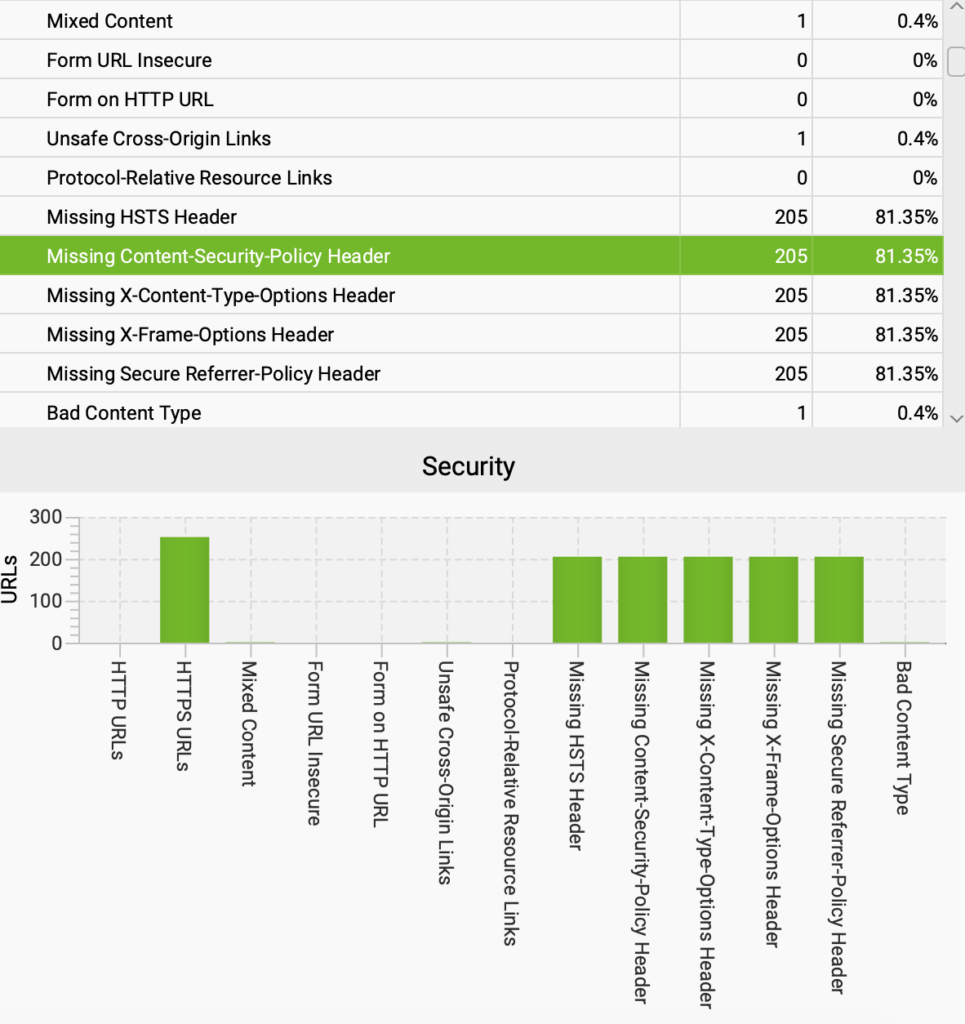
After detect the web page with missing Content security policy need to compile a list of domains that your WordPress site needs to access.
Step 2: Create Your CSP Policy
Based on your assessment, you can begin to draft your CSP policy. This policy dictates which sources are allowed to load content on your site.
- Define Directives: Start with the most common directives such as
default-src,script-src,img-src, andstyle-src. Set them toselfto allow loading resources only from your site’s domain, and add any external domains you trust.
Step 3: Implement Your CSP in WordPress
There are a few methods to implement CSP in WordPress, but one of the most straightforward ways is by modifying your site’s .htaccess file or using a plugin.
- Using .htaccess: Add your CSP as a header by inserting the following line in your
.htaccessfile:cssCopy codeHeader set Content-Security-Policy: "default-src 'self'; script-src 'self' https://trusteddomain.com; img-src 'self' https://trustedimagesource.com;"Replace the directive values with those suitable for your site. - Using a Plugin: Plugins like “Security Headers” or “WP Content Security Policy” can manage CSP implementation through a user-friendly interface.
Step 4: Test Your CSP Implementation
After setting up your CSP, it’s important to test how it affects your site. Check the console for any errors that might indicate blocked resources. This can help you adjust your policy without breaking site functionality.
Use Browser Developer Tools to be confident that use web resource is correctly set up:
Now, Validate Your Policy. Tools like SecurityHeaders.com can help you validate your CSP policy and suggest improvements.
Step 5: Monitor and Adjust
CSP might require adjustments as you add new features or services to your site, or as you discover issues in daily operation. Keep an eye on your site’s performance and functionality to ensure no legitimate resources are being blocked.
Common Issues and Troubleshooting
Common Implementation Errors
Learn about the frequent mistakes made during CSP implementation and how to avoid them.
Troubleshooting Tips for Common CSP Issues in WordPress Troubleshooting tips will help you resolve any issues arising during or after your CSP implementation.
Advanced CSP Strategies
Enhancing CSP with Additional Security Measures Learn about additional security layers that can be integrated with CSP for enhanced protection.
Case Studies of Effective CSP Implementation Real-world examples of how effective CSP implementation has protected WordPress sites.
CSP Compliance and Legal Considerations
Legal Implications of CSP Discuss the legal implications and responsibilities related to CSP implementation in various jurisdictions.
Ensuring Compliance with International Standards How to ensure your CSP meets international web security standards.
The Future of CSP in WordPress
Emerging Trends in Web Security
Insight into the emerging trends and how they might influence CSP practices in WordPress. Predictions for CSP Integration in Future WordPress Releases What future WordPress releases might hold for CSP integration, based on current trends and security needs.
This comprehensive guide aims to equip you with the knowledge and tools necessary to implement and maintain an effective Content Security Policy on your WordPress site. As threats evolve, so too should your security strategies, and CSP is a critical component of that evolution.
Read more about secure WordPress Migration
FAQs
The simplest Content Security Policy (CSP) setup for beginners is to start with a restrictive policy that only allows scripts, styles, images, and other resources from the same origin. This can be done by setting the default-src directive to 'self', which ensures that all content must come from the same source as the website itself. Here’s an example of what this might look like: Content-Security-Policy: default-src ‘self’; eginners can implement this policy using WordPress plugins like “Security Headers” to easily manage and modify CSP settings through the WordPress dashboard.
CSP itself has minimal impact on website performance. It operates by instructing the browser on what is permissible to load and execute, thus it works more as a security checker. While CSP doesn’t inherently slow down website loading times, improper configuration (like allowing too many unreliable sources) can indirectly affect performance by increasing the risk of loading unnecessary or malicious resources.
While CSP is a powerful tool for enhancing website security, it does not prevent all types of attacks. CSP is specifically designed to mitigate certain types of attacks such as cross-site scripting (XSS), clickjacking, and other content injection risks. However, it doesn’t protect against attacks like SQL injection, denial-of-service (DoS) attacks, or server-side vulnerabilities. Therefore, CSP should be part of a broader security strategy.